Introduction to Lino Block Printing for Grade 9 Students
Lino block printing is an exciting and creative art technique that involves carving a design into a linoleum surface, inking it, and then pressing it onto paper to create prints. Let’s go through the process step-by-step, covering the materials and tools you’ll need, the preparation, and each stage of creating your prints.
Materials and Tools Needed
- Linoleum Blocks (Lino)
- Soft or hard linoleum sheets for carving.
- Carving Tools
- Gouges (V-shaped and U-shaped carving tools) and a handle.
- Tracing Paper or Carbon Paper
- Used to transfer your design onto the linoleum block.
- Pencil and Eraser
- For sketching your design.
- Ink
- Block printing ink in your choice of color.
- Brayer (Roller)
- For evenly spreading ink on the lino block.
- Inking Plate
- A smooth, flat surface to roll out the ink.
- Paper
- Printing paper that is thick enough to handle the ink.
- Baren or Spoon
- For pressing the paper onto the inked lino block.
- Bench Hook or Non-slip Mat.
- To secure the lino block while carving.
- Cleaning Supplies
- Soap, water, and a cloth for cleaning the block and tools.
Step-by-Step Process
1. Sketching Your Design
Start by drawing your design on a piece of paper. Remember that the design will be reversed when printed, so any text or important details need to be drawn in reverse.
2. Transferring the Design
Using tracing paper:
- Place the tracing paper over your sketch and trace the design with a pencil.
- Flip the tracing paper onto the linoleum block (pencil side down) and rub the back to transfer the pencil lines onto the lino.
Using carbon paper:
- Place the carbon paper (carbon side down) on the linoleum block.
- Place your sketch on top of the carbon paper.
- Trace over the lines of your design with a pencil, pressing firmly to transfer the design onto the lino.
3. Carving the Linoleum Block
- Secure the lino block on a bench hook or non-slip mat to prevent slipping.
- Use gouges to carve out the areas that you want to remain white (non-printed areas). Start with the larger U-gouge for broader areas and use the V-gouge for finer details.
- Carve away from your body and keep your hands behind the tool for safety.
4. Inking the Linoleum Block
- Squeeze a small amount of ink onto the inking plate.
- Use the brayer to roll out the ink until it is smooth and even.
- Roll the brayer over the surface of the carved linoleum block to apply an even layer of ink.
5. Printing
- Place a piece of printing paper carefully over the inked lino block.
- Use a baren or the back of a spoon to rub the paper firmly and evenly, ensuring the ink transfers onto the paper.
- Carefully lift the paper off the block to reveal your print.
6. Washing the Block
- Clean the lino block and tools immediately after printing to prevent the ink from drying.
- Use soap and water, scrubbing with a cloth or brush if necessary.
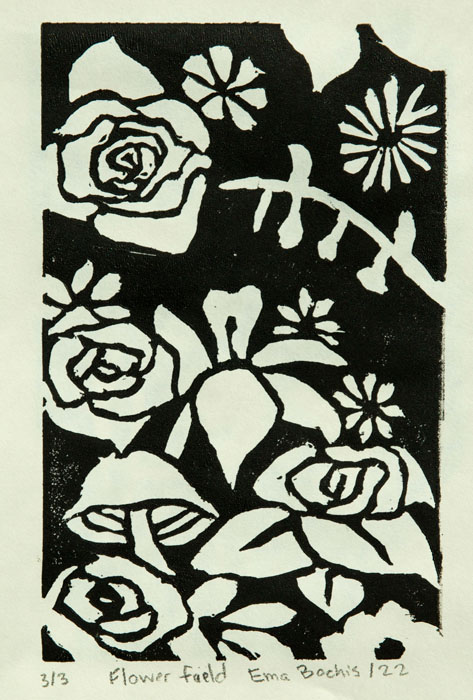
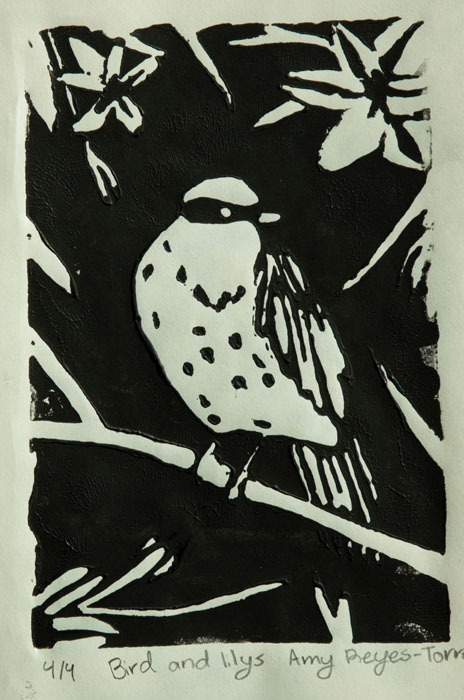
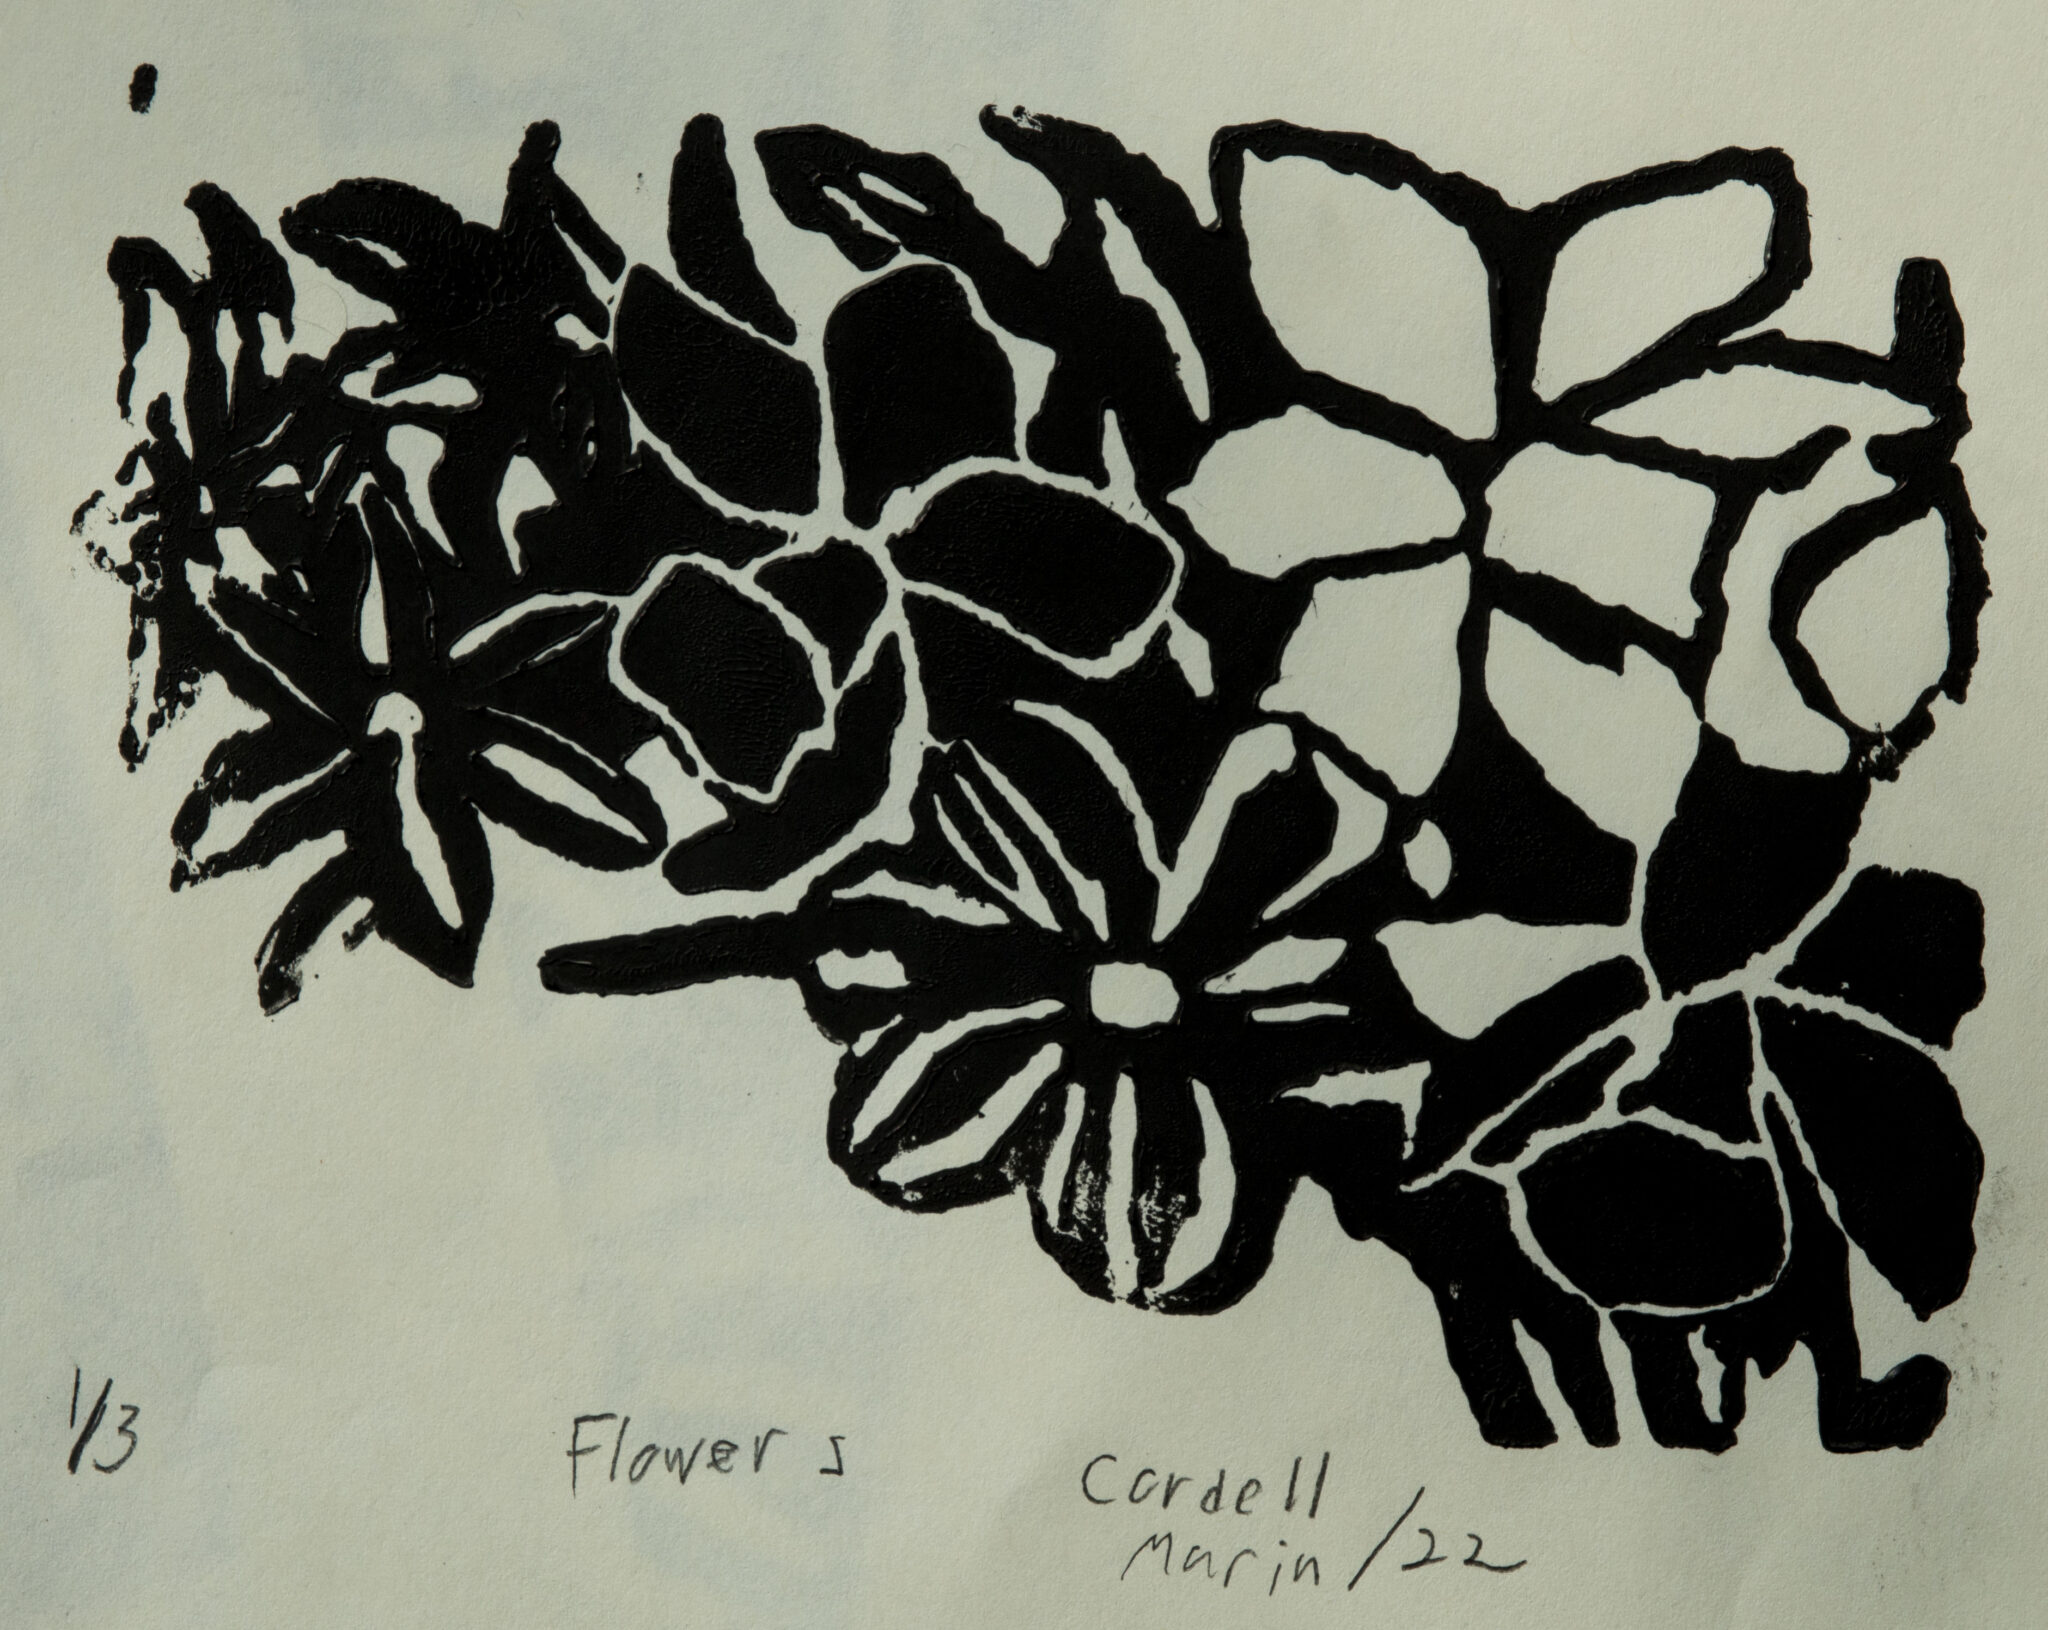
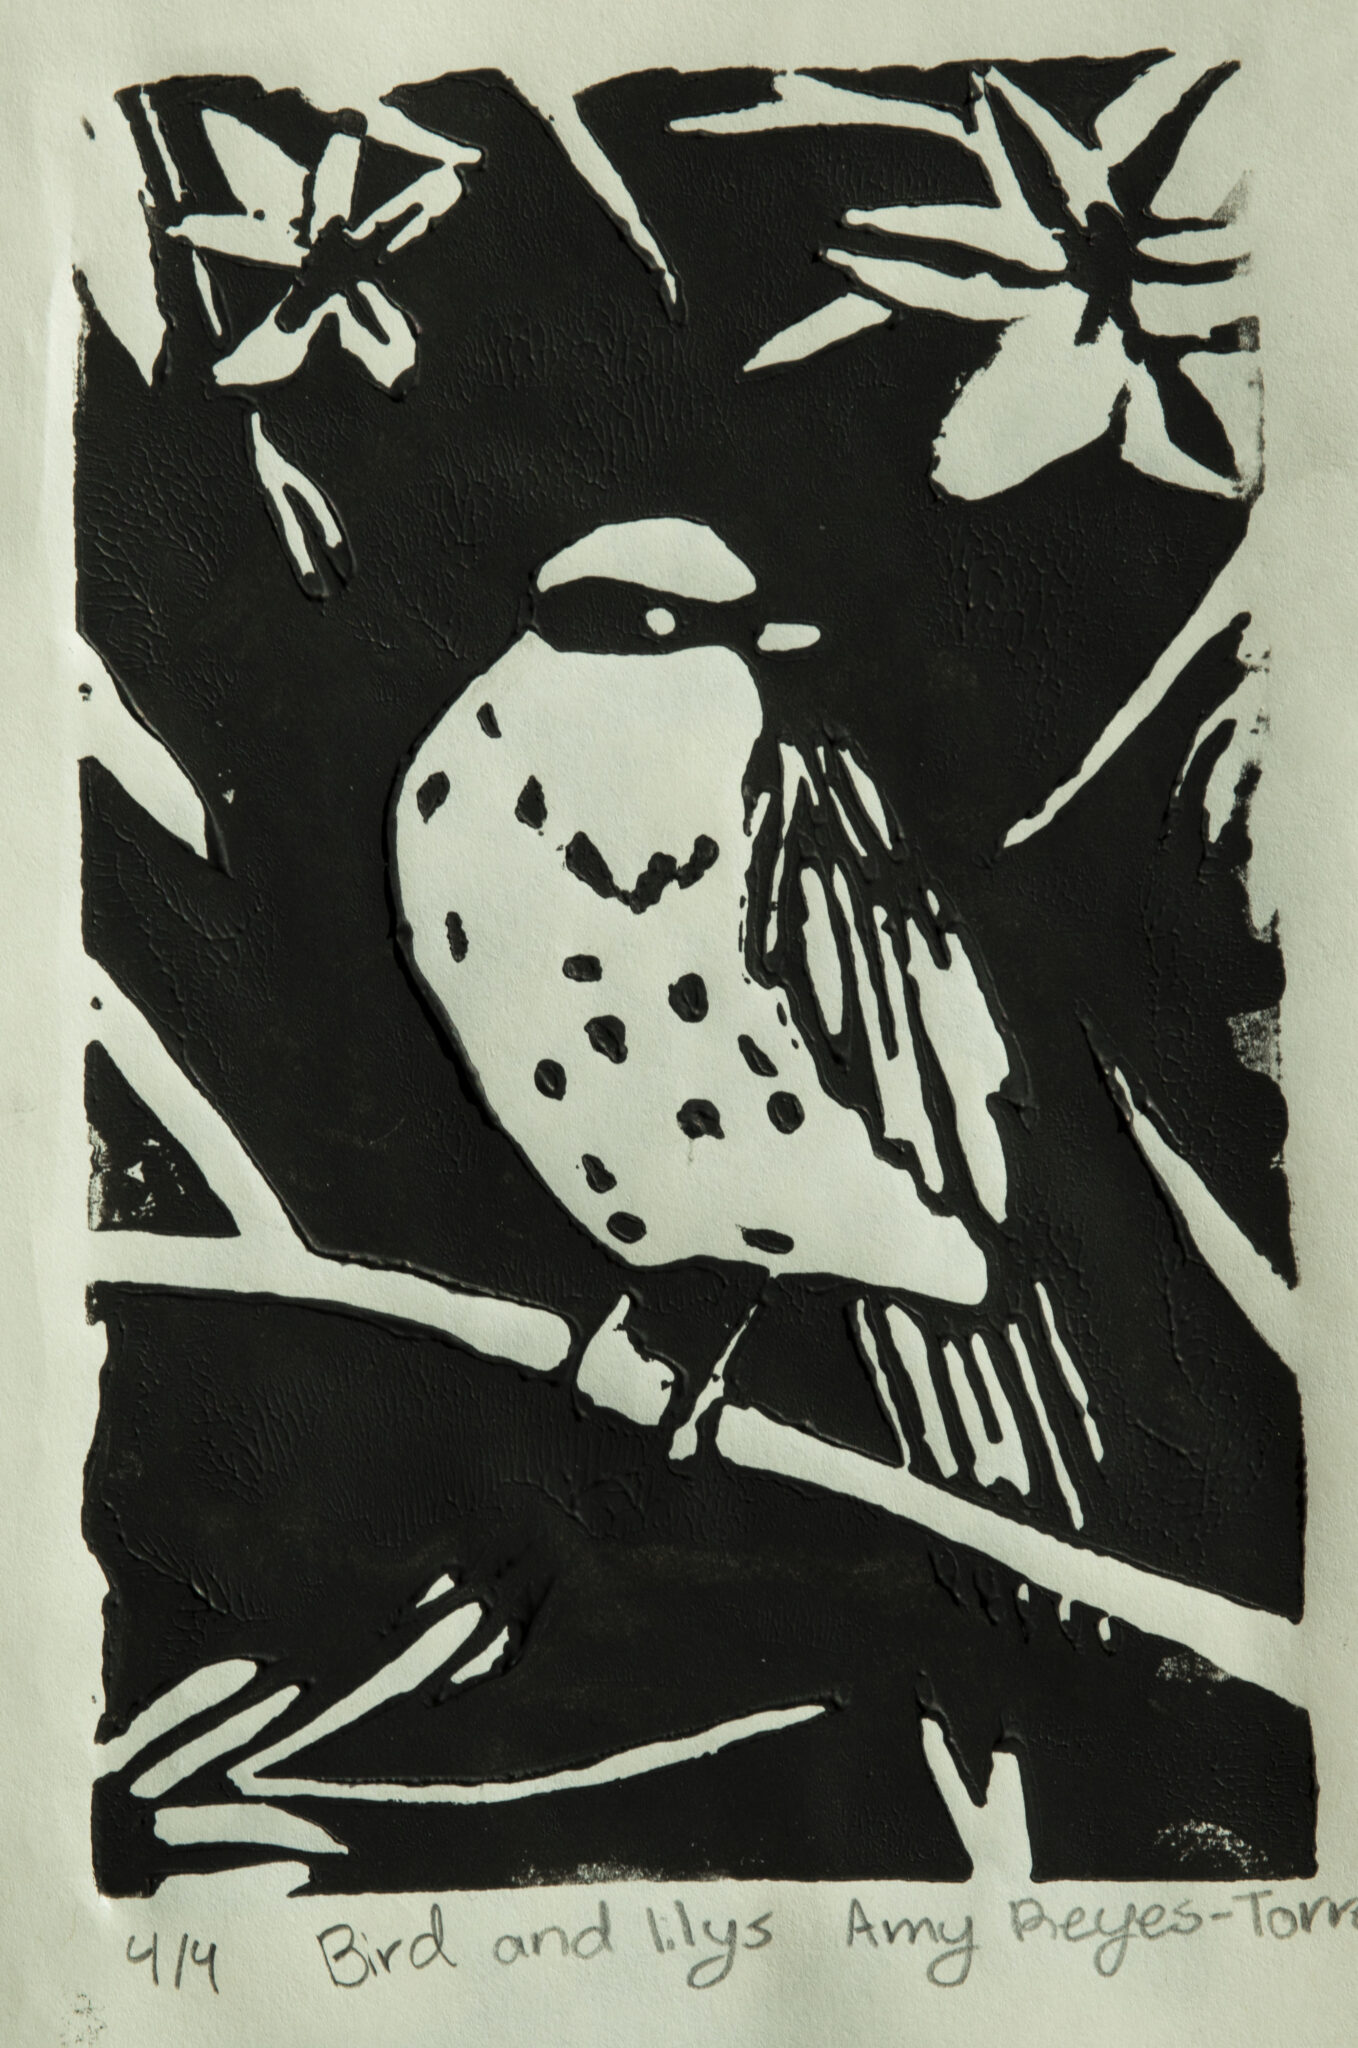
7. Signing the Prints
- Once your prints are dry, sign each one at the bottom right corner with a pencil.
- Include the edition number (e.g., 1/10) and title of the print if applicable.
Conclusion
Lino block printing is a rewarding process that allows you to create multiple prints from a single carved block. Follow these steps carefully, and with practice, you’ll develop your own unique style and technique. Happy printing!