Objective
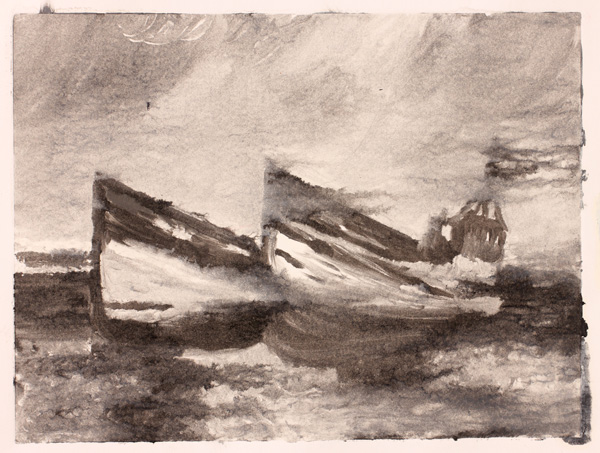
- Create a series of monoprints.
Supplies
- Gelli Arts® 8×10 Gel Printing Plate
- Acrylic paints
- Brayer
- Found objects for texture tools.
- Watercolor paper
- Laser prints or photocopies of photographs (not inkjet)
- Light table
- Soft brush
- Bank or gift card.
- Paper towels
- Baby wipes
- Bowl of water
Step-by-Step Guide
Try Different Techniques First
Stencil Technique
- Lay out your Gelli plate.
- Cover the plate with acrylic paint. Work quickly as acrylics dry fast.
- Place a stencil on the wet paint.
- Lay the material (paper/fabric) over the stencil.
- Use a brayer or your hands to press the material down.
- Lift the material to reveal the printed piece. Layer with different stencils for added effects.
Stamp Technique
- Apply a thin layer of acrylic paint to the Gelli plate.
- Press stamps or textured objects into the wet paint to create patterns.
- Lay your material on the stamped plate and press down.
- Lift the material to see the print. Layer for added depth.
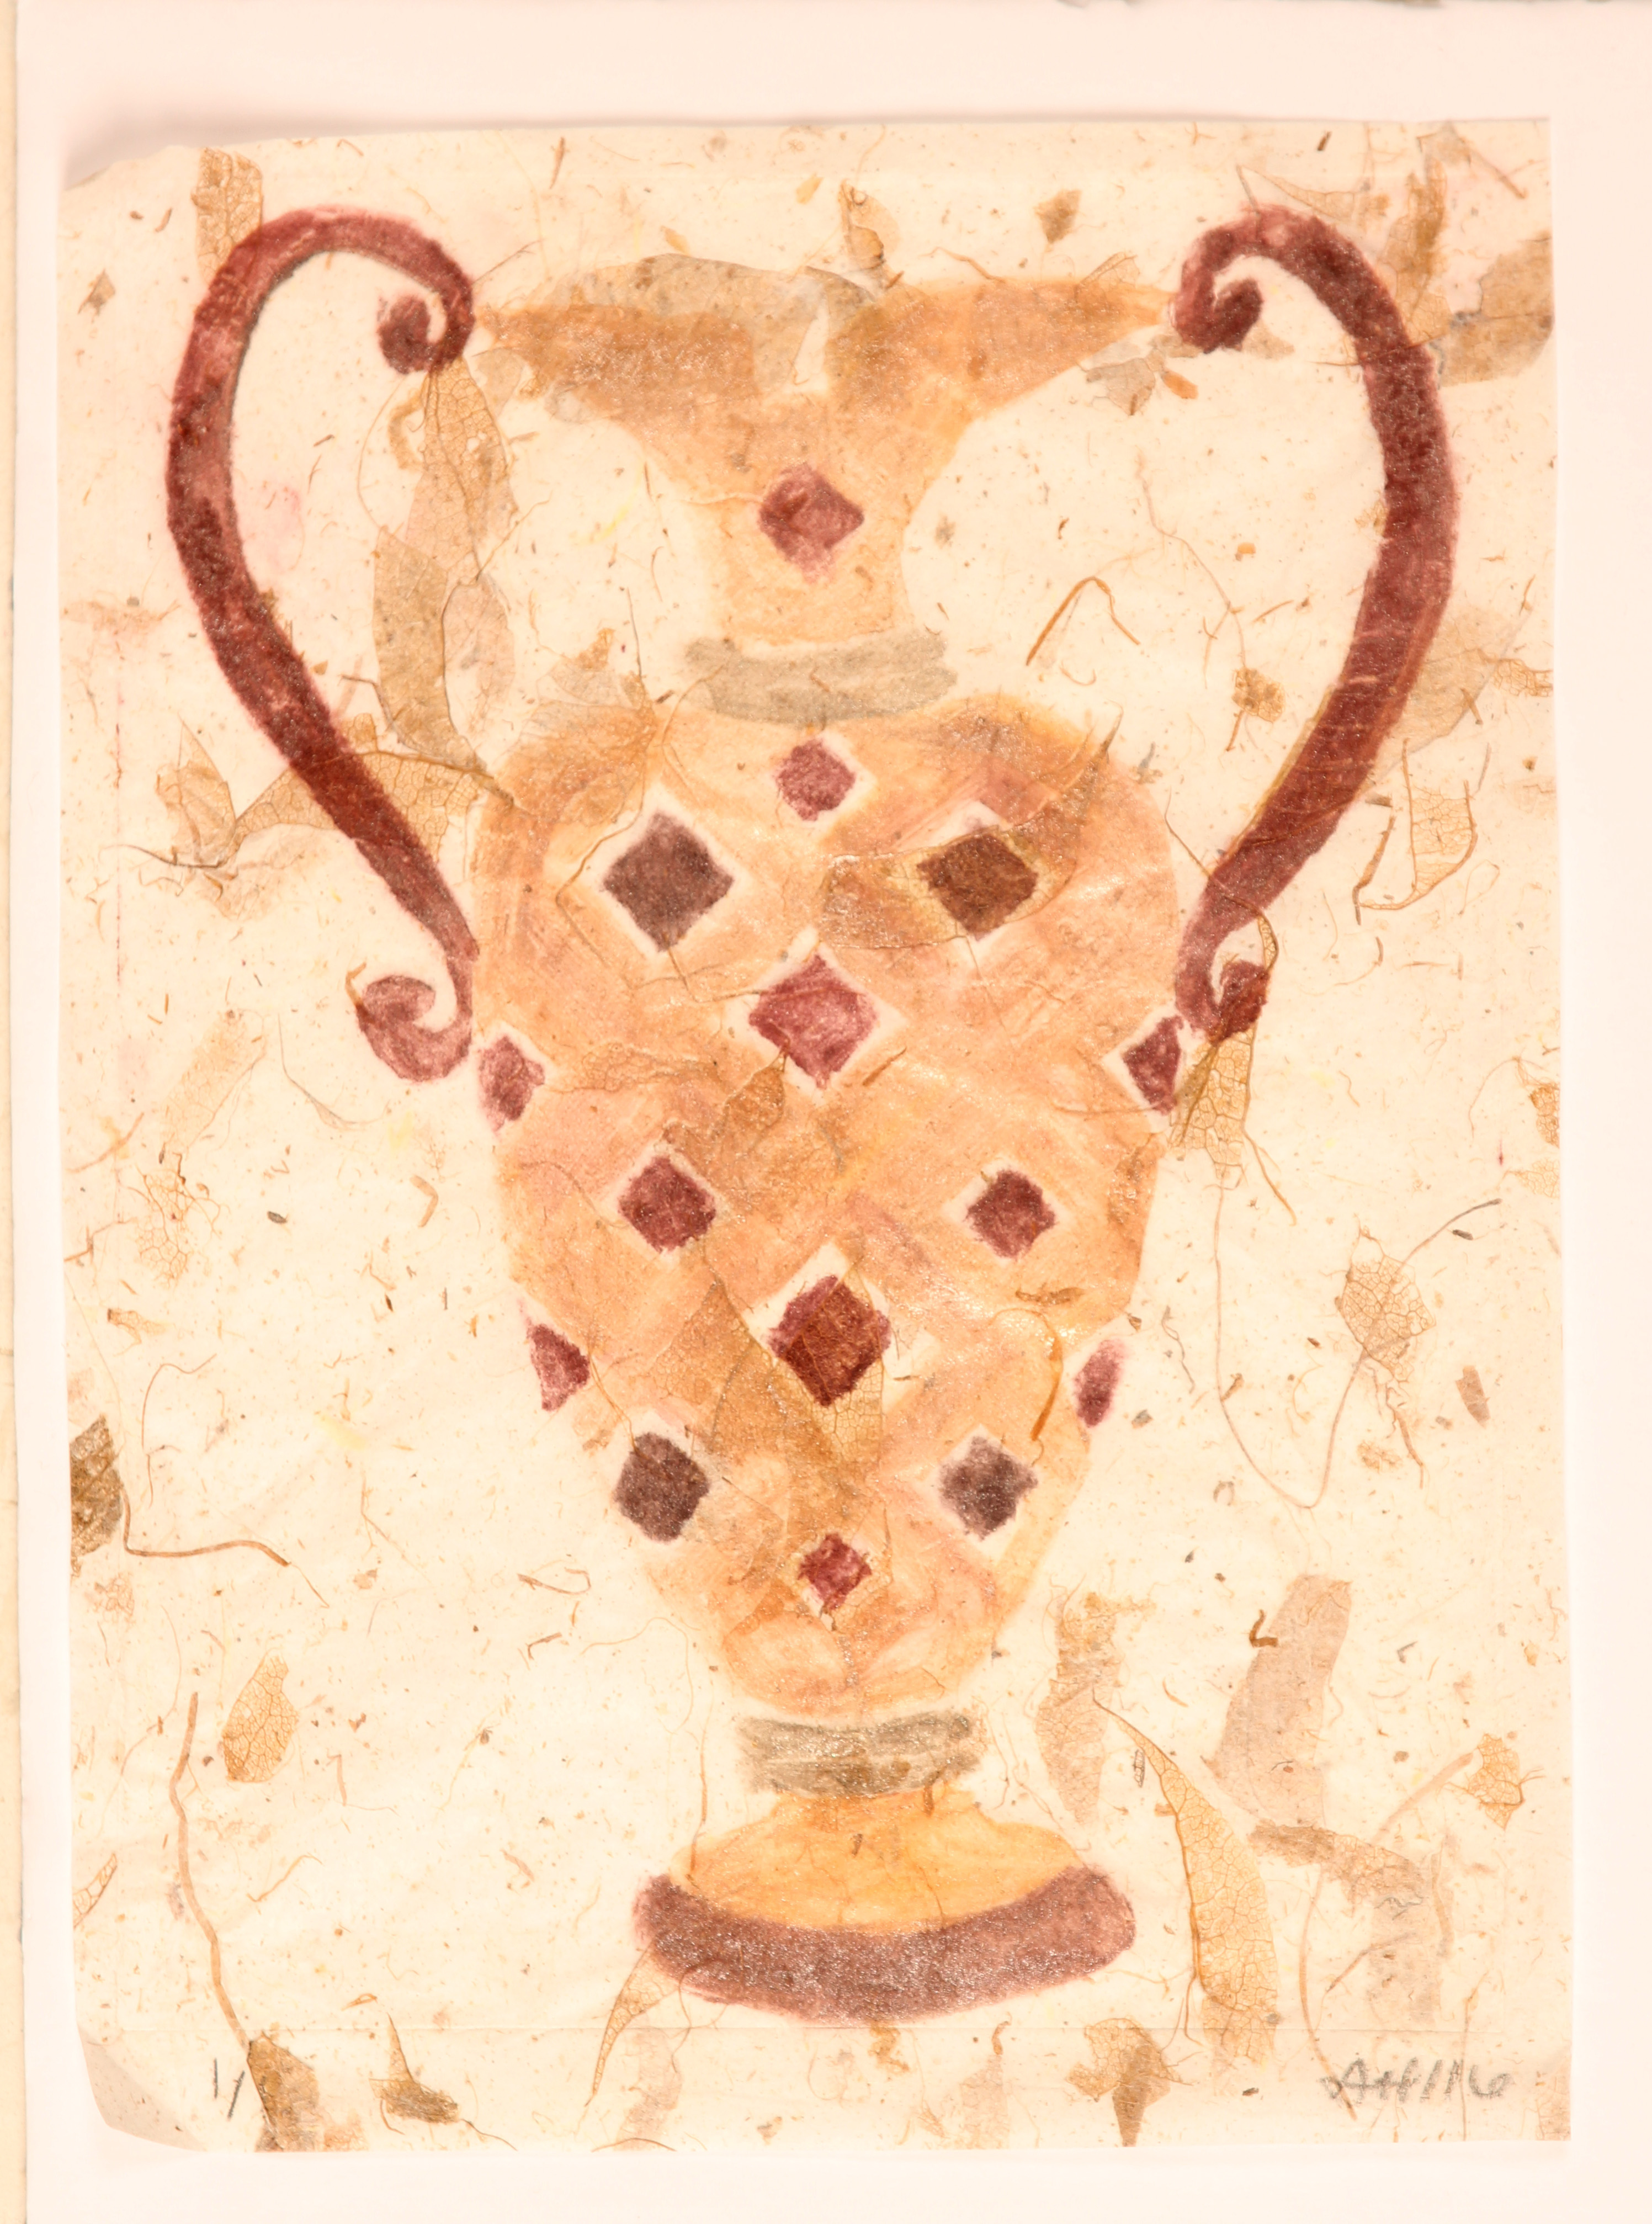
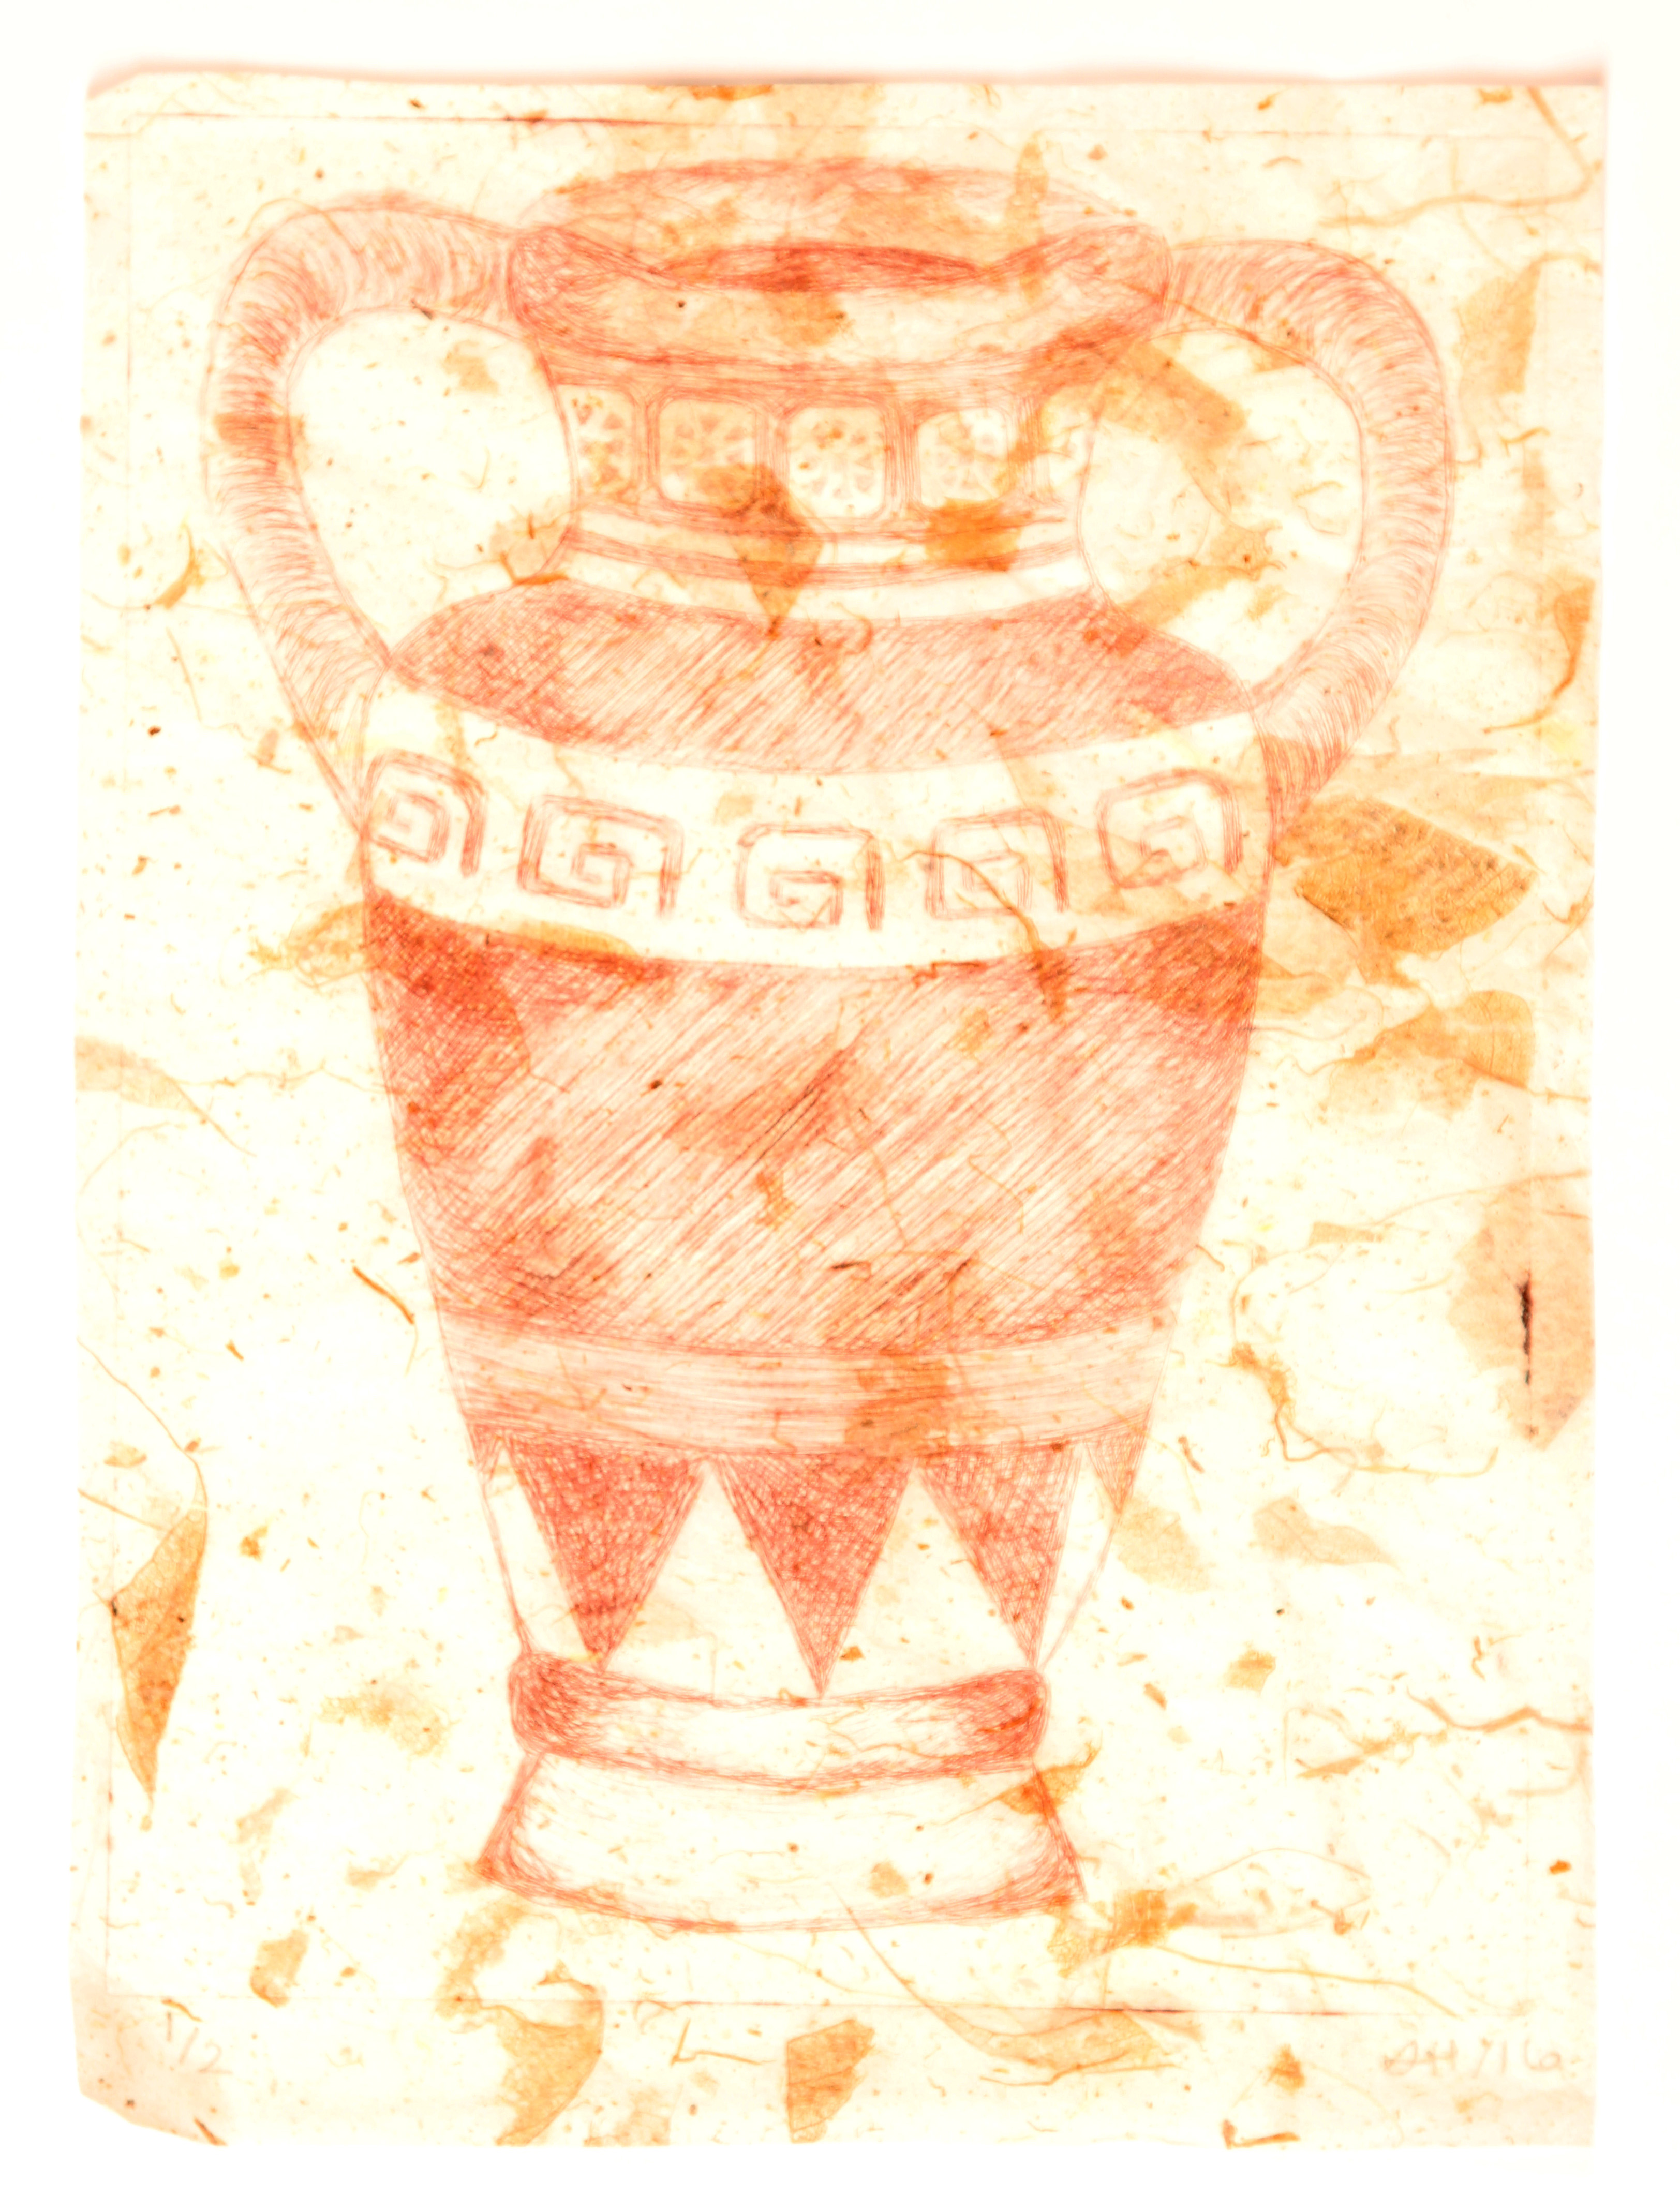
Final Project
Part A: Animal Portraits
- Objective: Create a series of four portraits of your favorite animal. Each print should differ in color, brush stroke, or color intensity but represent the same animal.
Part B: Themed Prints
- Objective: Create a series of four prints with a common theme, using consistent objects and colors.
Getting Started
- Open a photo on your phone/laptop or place a paper copy on a light table.
- Prepare your acrylic paint palette.
- Gather brushes, paper towel, water, hand sanitizer, and baby wipes.
- Ensure you have the right size of printing paper ready.
- Apply paint thinly and avoid starting if you’re not fully prepared.
Cleanup
- Remove excess ink from the gel plate with newsprint or scrap paper.
- Clean excess ink from the brayer by rolling it on scrap paper.
- Use a baby wipe or soapy water on a paper towel to clean the brayer and plate.
- Store the brayer with the roller side up and resting on its frame.
- Place protector sheets on both sides of the gel plate and store it flat.
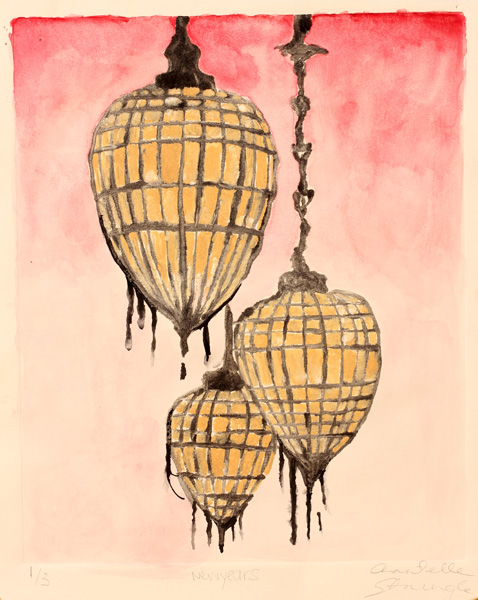
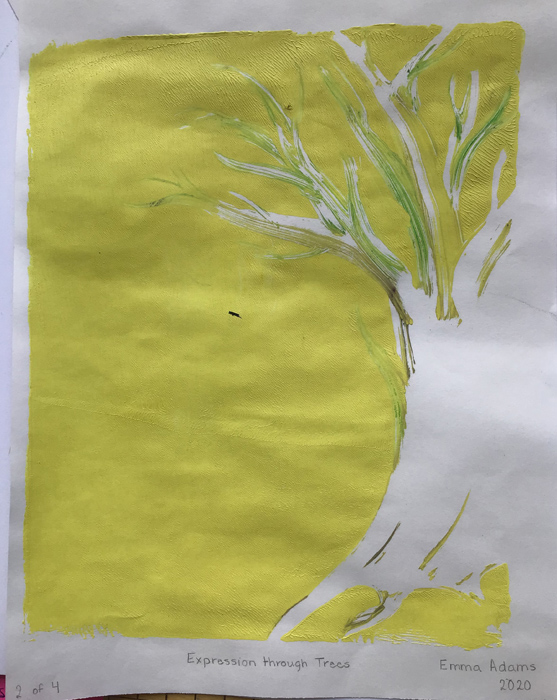
Sign Your Print
- Label the lower left with the number, followed by the title, and then sign your name. Optionally, date the prints below your signature for tracking.
Creating Backgrounds
- Pick Colors: For vibrant prints, avoid dark colors. Use neon colors for added vibrancy.
- Choose Tools: Use homemade rollers with bubble wrap, craft foam, and found objects for texture.
- Make Backgrounds: Start with color only, using light colors like yellow, pink, and orange. Add patterns later with darker colors to keep the light colors vibrant.
- Create Patterns: Once backgrounds are ready, add marks and textures, leaving some spaces for image transfers.
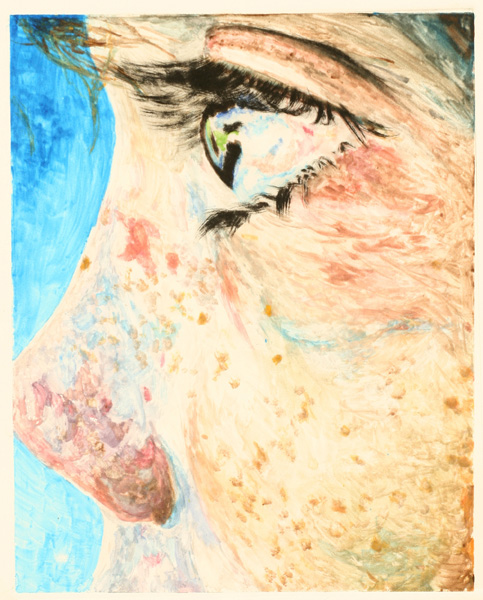
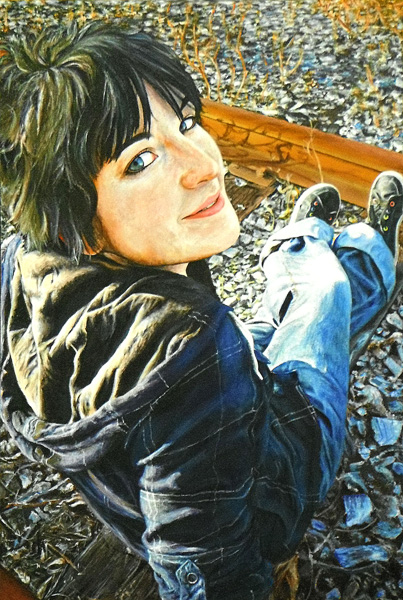
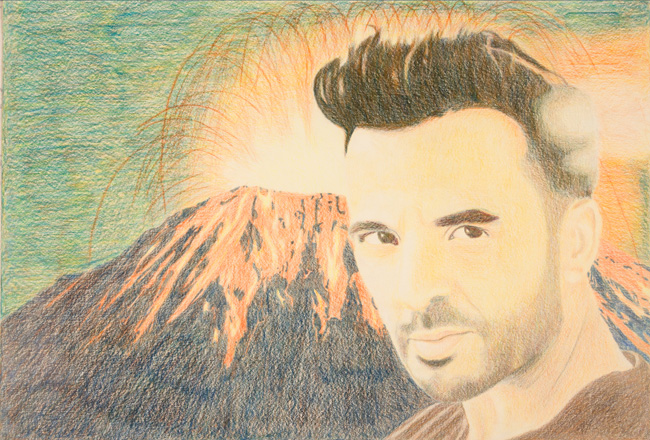
Beautiful Image Transfers on Gelli Arts® Gel Printed Backgrounds
- Step 1: Select a favorite background.
- Step 2: Cut out the picture you want to transfer.
- Step 3: Apply a thin layer of matte medium to both the background and the picture (right side).
- Step 4: Place the picture right side down on the background.
- Step 5: Use a bank card to remove excess matte medium and air bubbles.
- Step 6: Let it dry completely.
- Step 7: Once dry, use water and fingers to rub away the paper, leaving the image.
- Step 8: Cover the image with a thin layer of matte medium.
By following these steps, you’ll be able to create unique and beautiful monoprints that showcase your artistic skills and creativity!